
Beef stroganoff, a Russian dish that originally consisted of just beef in a boullion and sour cream sauce, has its roots in the 19th century. Although beef stroganoff was present in the United States in the early 1940's, it didn't become widespread until after World War II, when the rationing of meat was lifted. At that time, it became the go-to recipe for gourmet chefs across the 'States (according to beefstroganoff.net--someone really loves this stuff). More recent permutations of the recipe include onions, mushrooms, and sometimes even tomato paste, but in my opinion the sauce is the only thing that really matters!
Around this time last year, Jay and I went to check out The Stone Balloon (which is now The 16 Mile Taphouse) in Newark, DE, where we were living at the time. Stone balloon really hit it out of the park with their beef stroganoff, not only because the sauce was fantastic, but also because it just happened to be a gluten-free option for Jay: they sliced potatoes thinly enough and cooked them just enough that they could serve as "noodles" for the dish. The portobello mushrooms in the dish also offered a meaty richness that paired well with the heavy whipping cream in the sauce. I'd been meaning to try to recreate this recipe for some time, and it just happened to work out that I got it right the very first time!
I'm really excited to share this recipe with you guys-- it's a little more labor intensive than I usually like to go, but this would be an excellent dish for a special occasion (you could even use steak instead of ground beef to kick it up a notch).
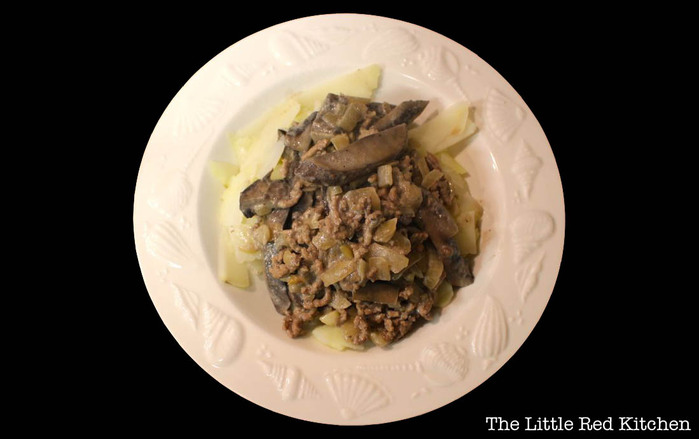
Beef Stroganoff With Potato "Noodles"
**Bonus: This dish is naturally gluten-free (check your ingredients, of course), and can also be made dairy free!**
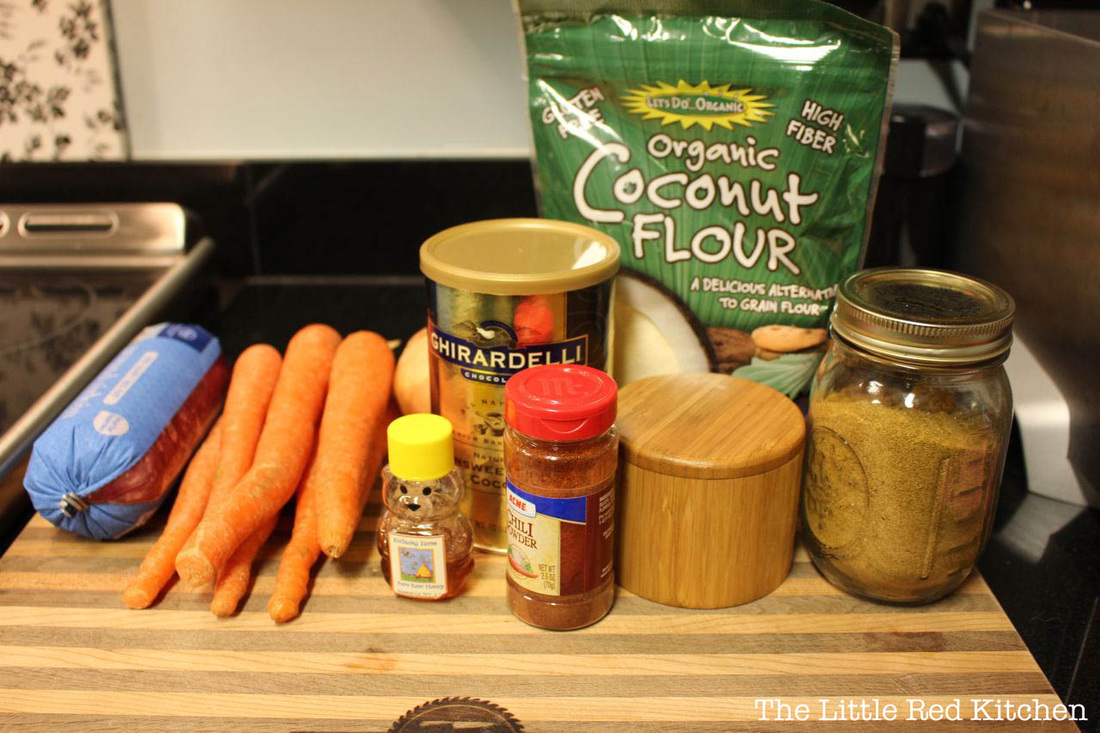
Ingredients:
1 lb ground beef (I used 85/15)
1 large yellow onion, finely chopped
2-3 large garlic cloves, finely chopped
4 medium russet potatoes (or your choice of potato)
12 oz large portobello mushrooms, sliced into strips
1 16oz can coconut milk, chilled for at least 8 hours in the fridge (you could also use 1¼ cups heavy whipping cream or crème fraîche, although the consistency of the sauce may change slightly)
1/4 cup white cooking wine
1/2 cup chicken stock
2 tsp dijon mustard
1 tsp ground nutmeg
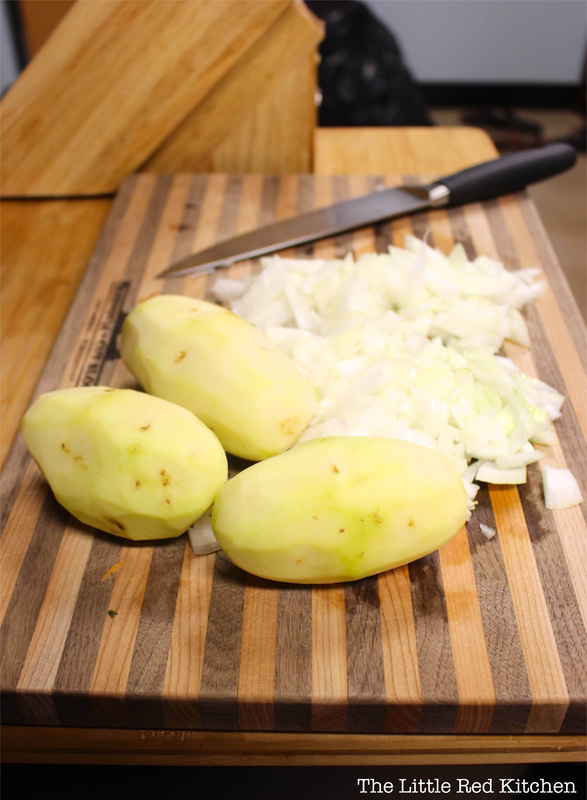
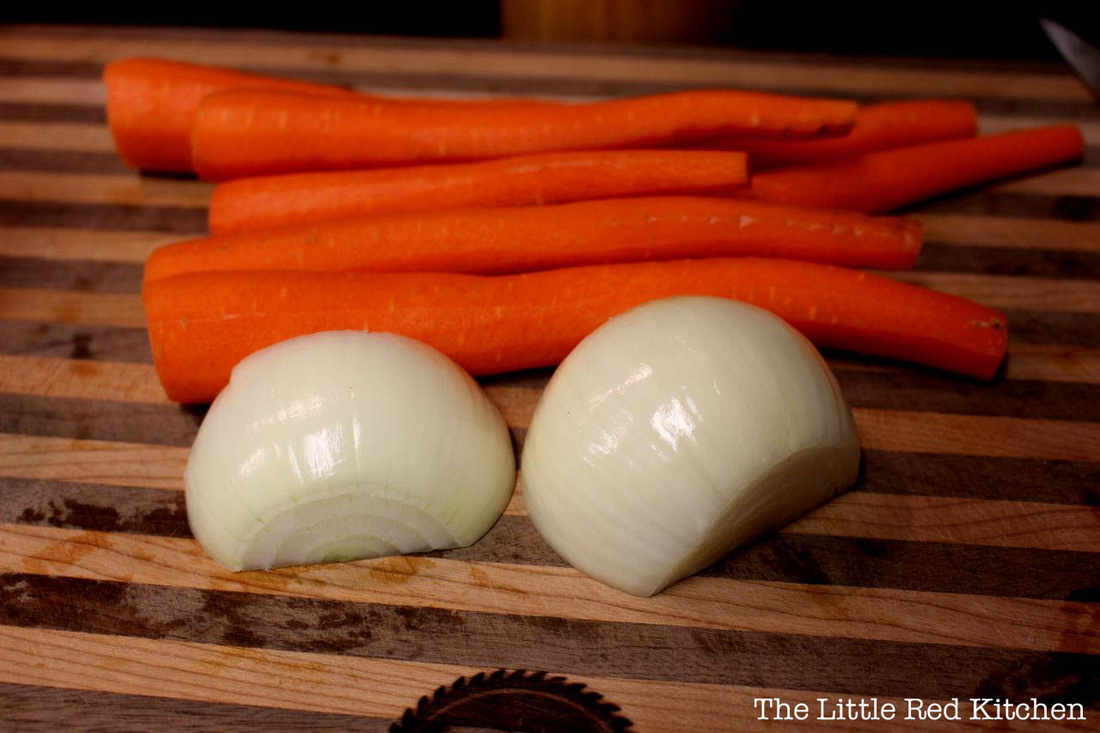
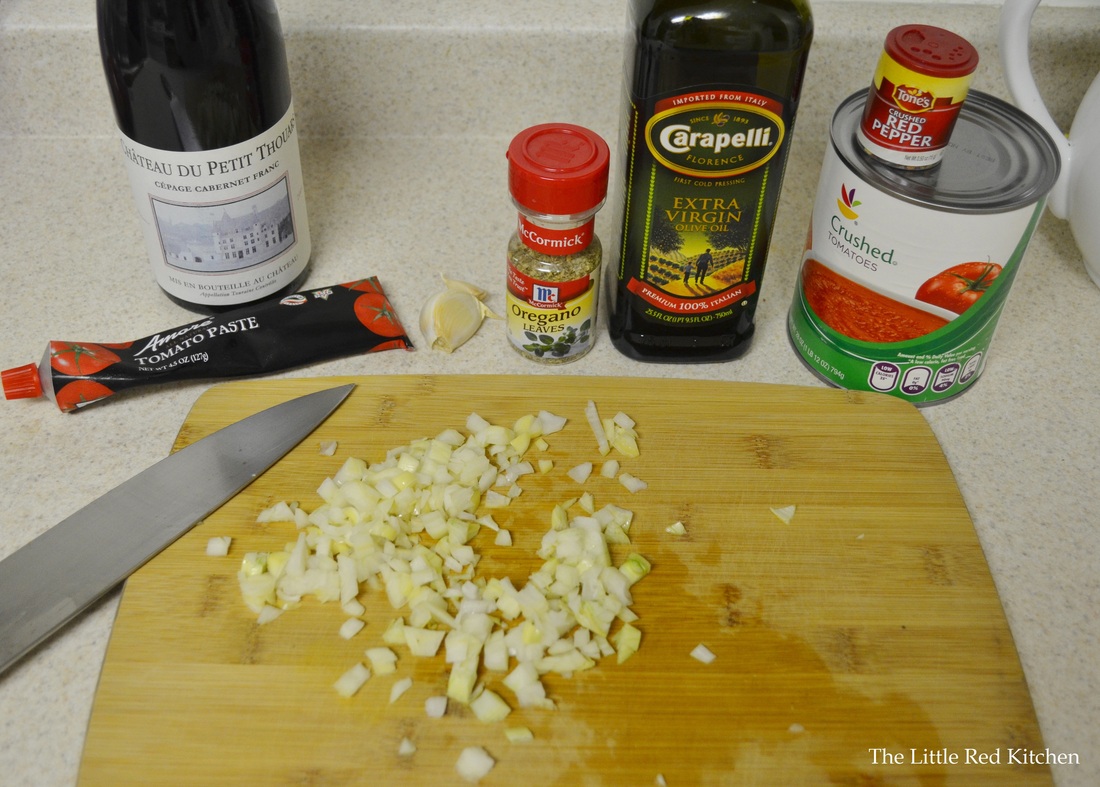
Step 1.1. Start by preparing your veggies: Scrub and peel the potatoes, chop the onions and garlic.
Ingredients:
1 lb ground beef (I used 85/15)
1 large yellow onion, finely chopped
2-3 large garlic cloves, finely chopped
4 medium russet potatoes (or your choice of potato)
12 oz large portobello mushrooms, sliced into strips
1 16oz can coconut milk, chilled for at least 8 hours in the fridge (you could also use 1¼ cups heavy whipping cream or crème fraîche, although the consistency of the sauce may change slightly)
1/4 cup white cooking wine
1/2 cup chicken stock
2 tsp dijon mustard
1 tsp ground nutmeg
Step 1.1. Start by preparing your veggies: Scrub and peel the potatoes, chop the onions and garlic.
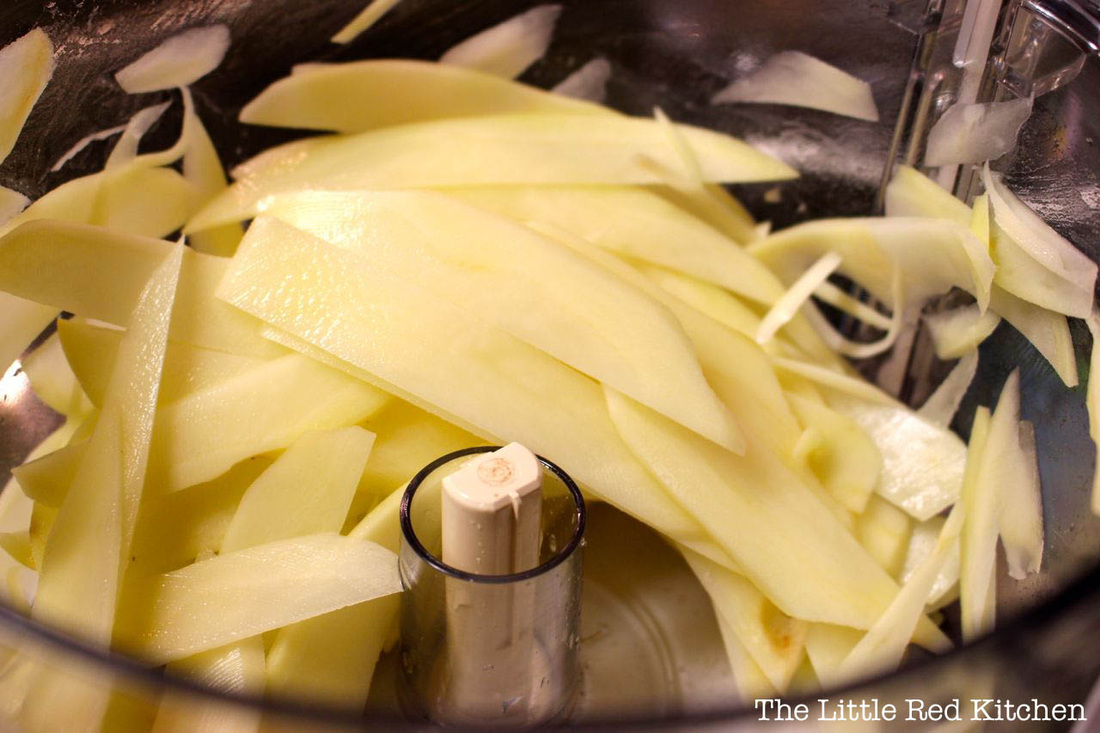
Step 1.2. Cut your potato strips lengthwise into half-inch strips. You can then slice them finely yourself, or use a slicing blade attachment in your food processor to create the "noodles".
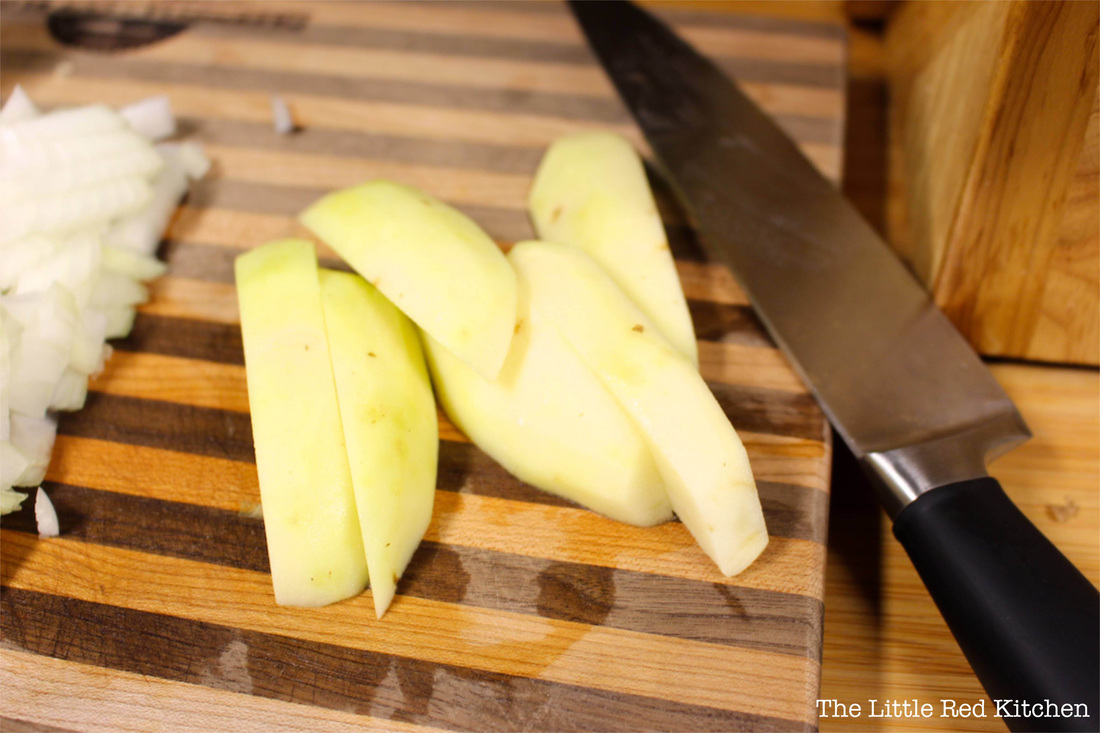
If you go the food-processor route, though, be sure to place them horizontally into the processor feed, so they are sliced into long noodles (instead of short choppy ones). I used the 2mm slicing attachment on my Cuisinart.
 |  |
I was SO pleased with how well this worked!! Just look at those beautiful noodles:
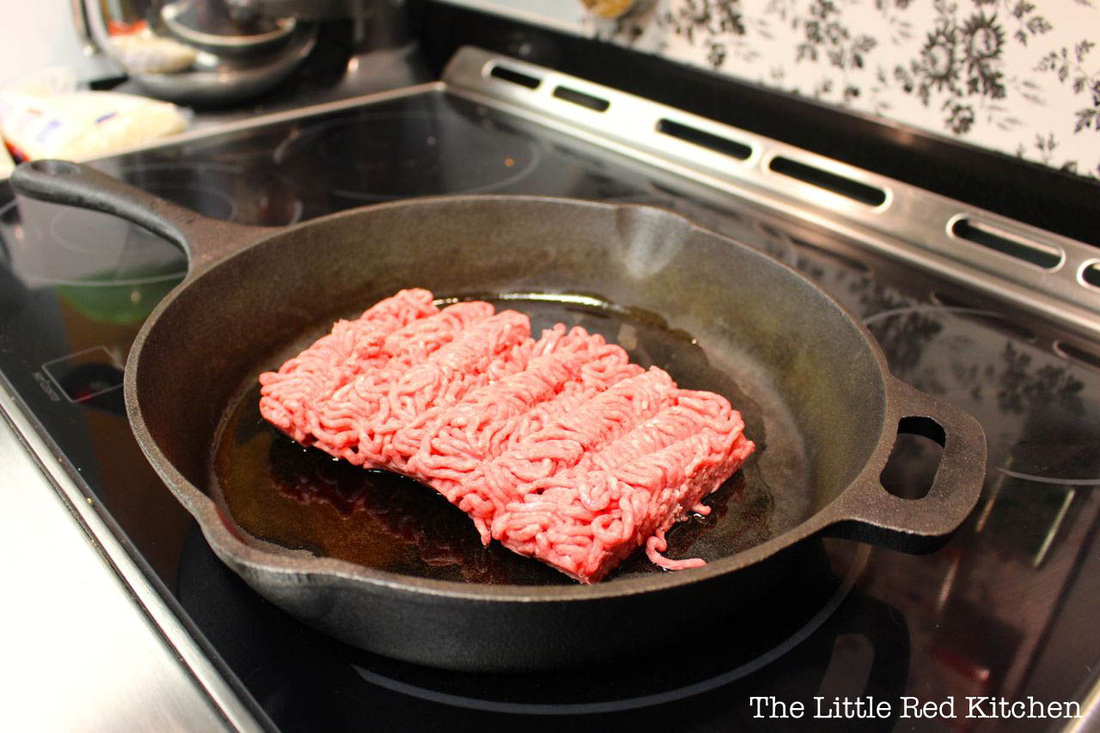
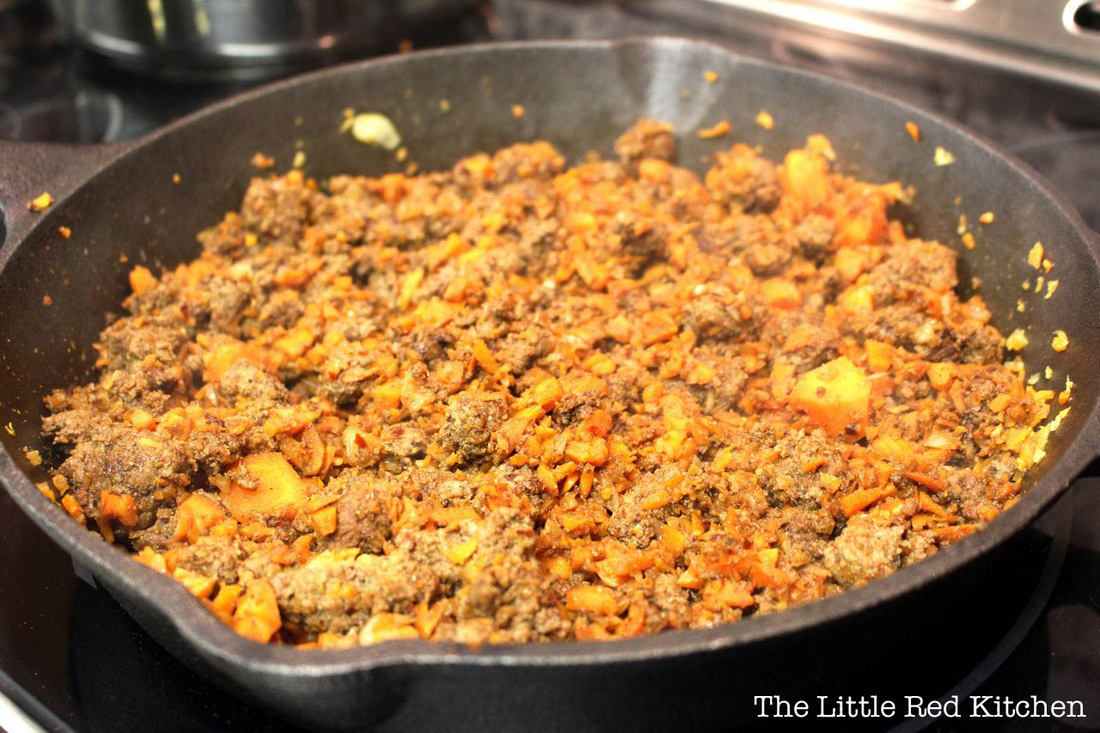
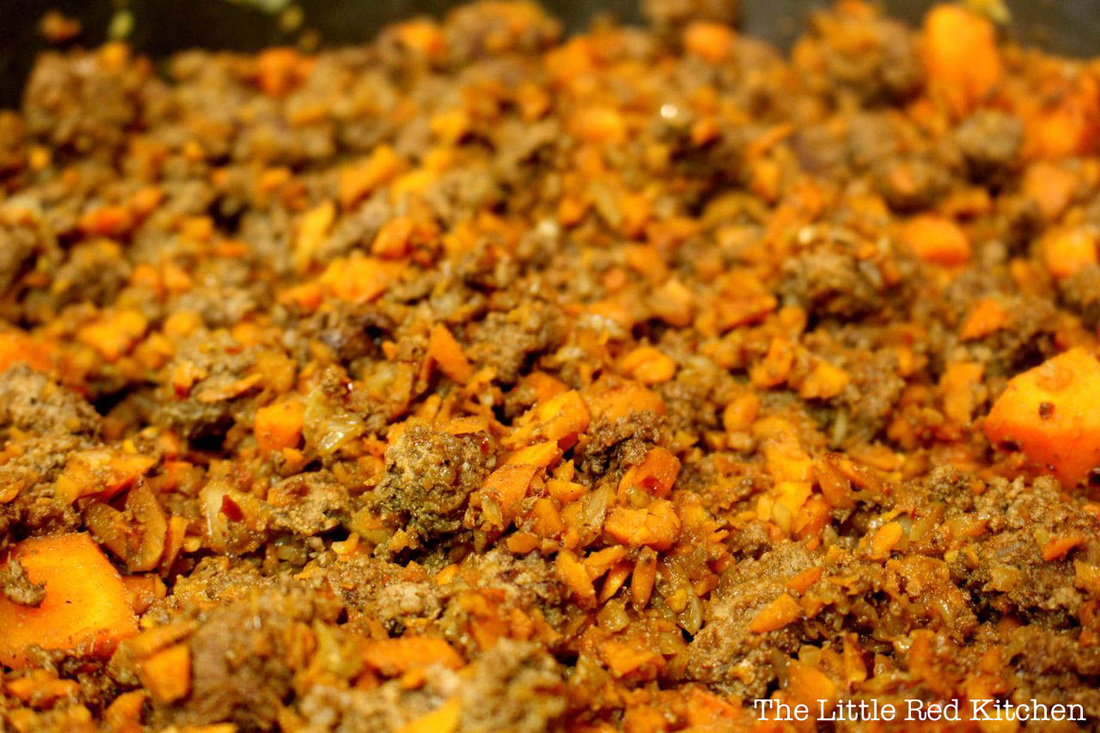
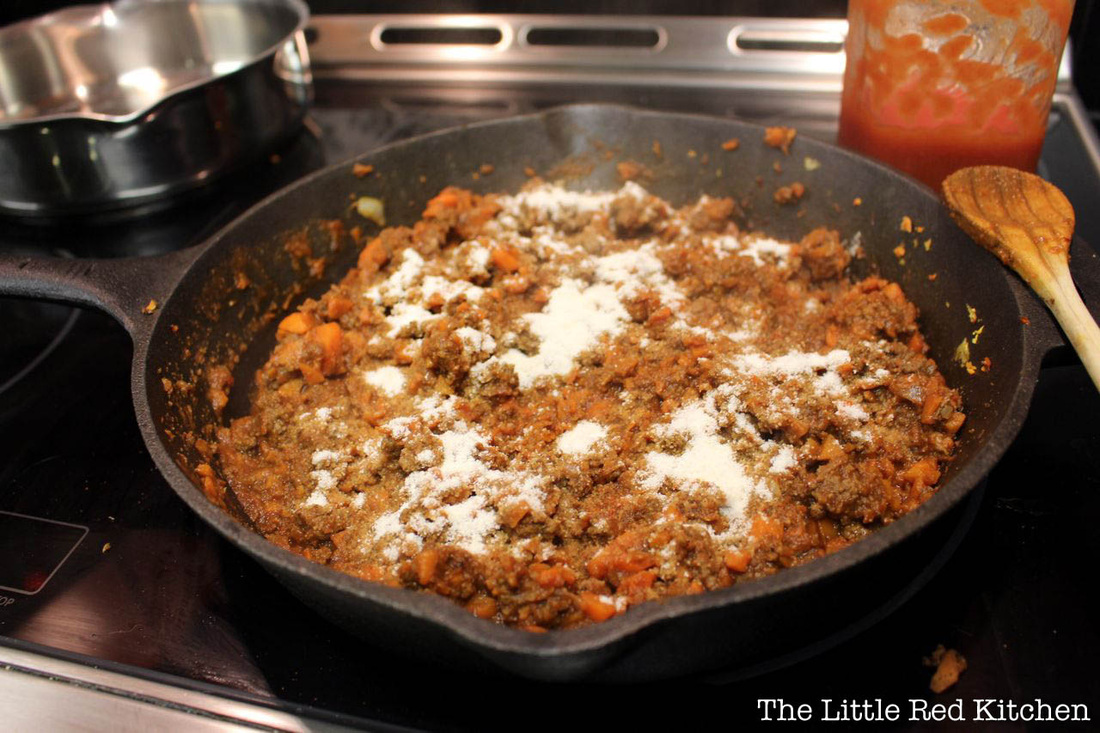
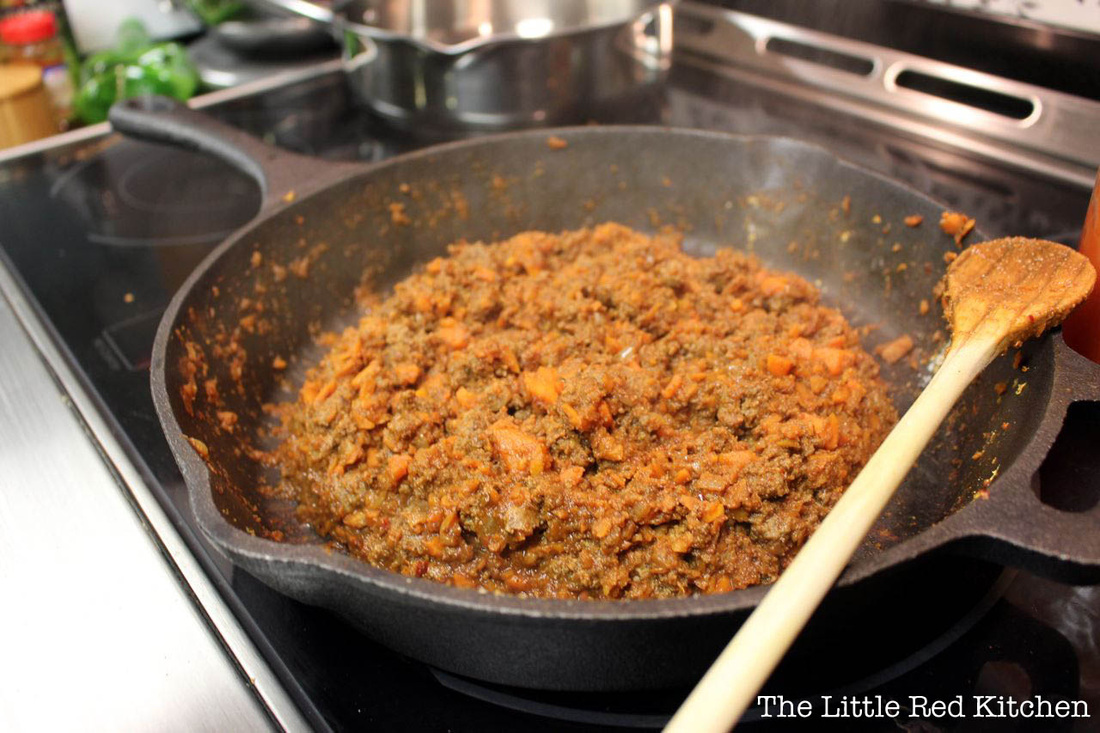
Step 1.3. Once your veggies are prepped, heat a large skillet over medium-high heat, and add your ground beef to the pan. Let it cook until browned, and crumble it with your spatula as you go.
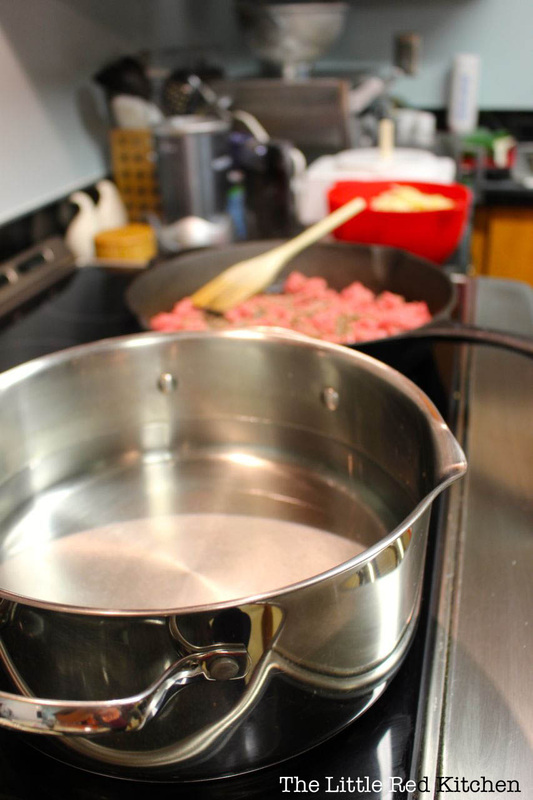
Step 1.4. While the meat is cooking, put a large pot of water on to boil, and salt it fairly generously. This is your chance to spice the potatoes as they cook.
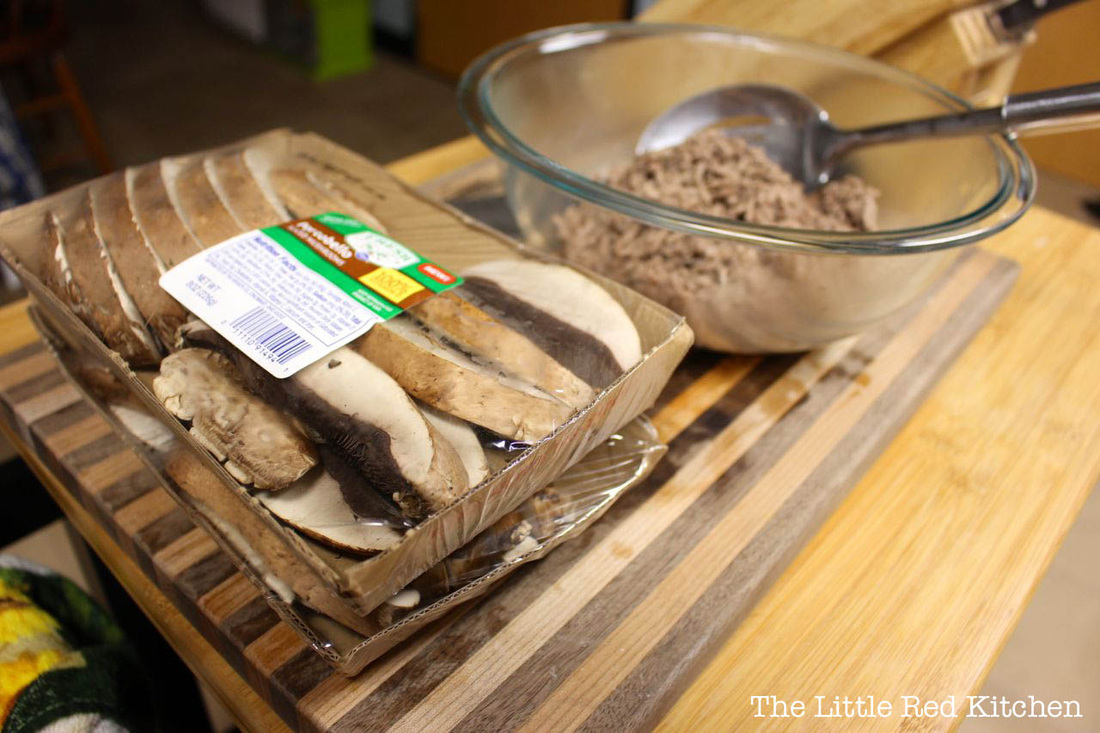
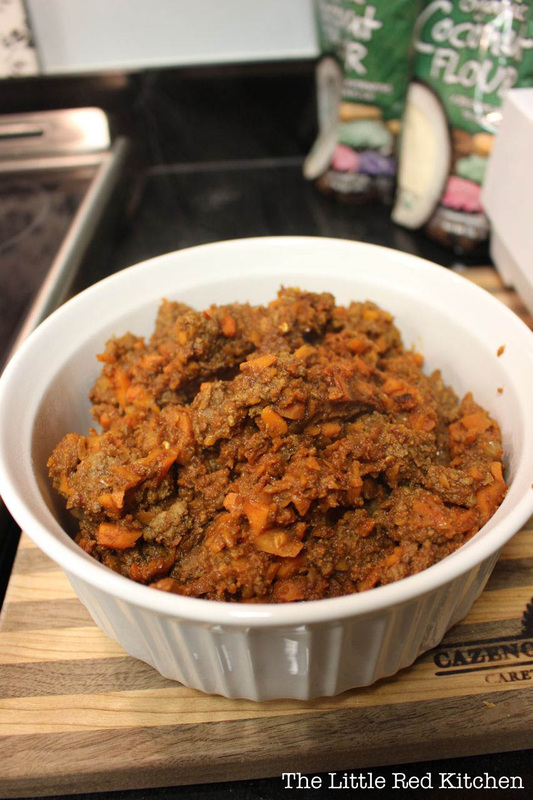
Step 2. Once your meat has finished cooking, remove it (but not the fat it's left behind) from the pan and place in a bowl for later use. Pull out your mushrooms, too.
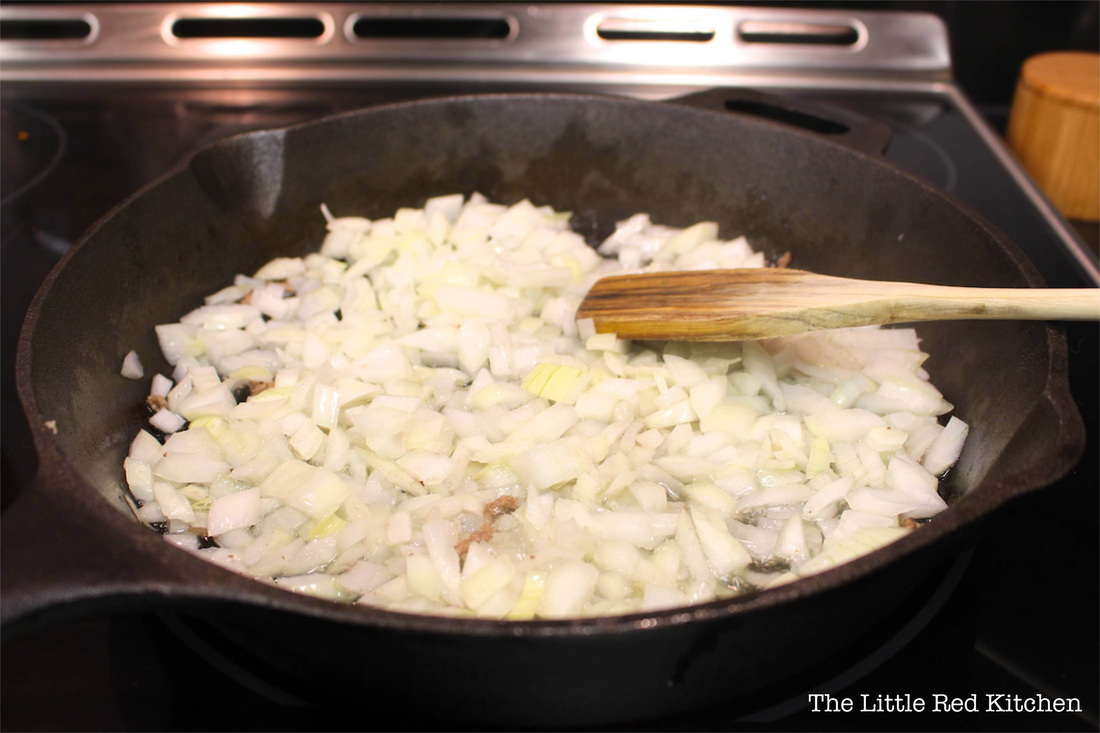
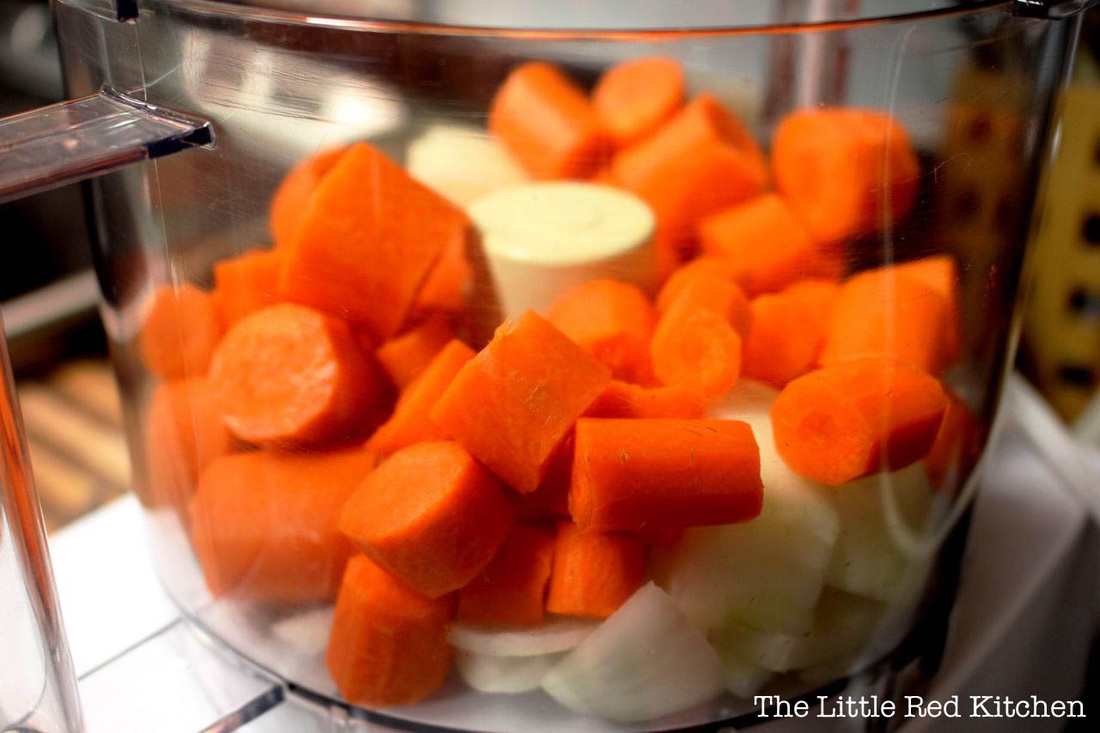
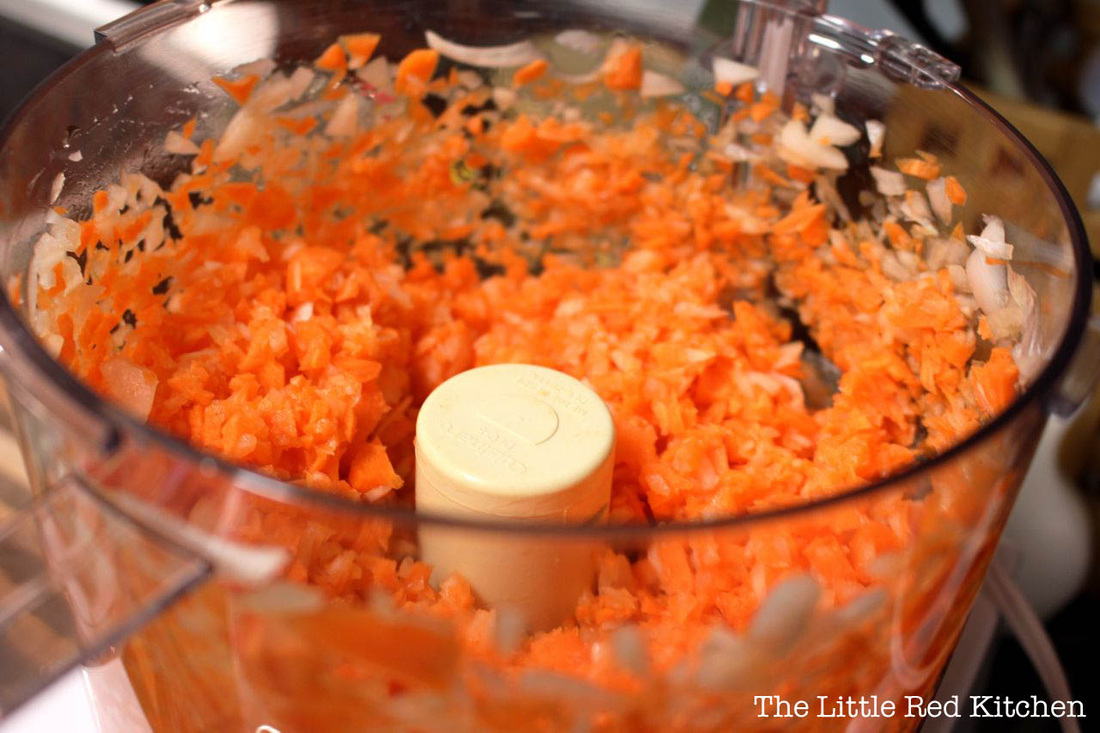
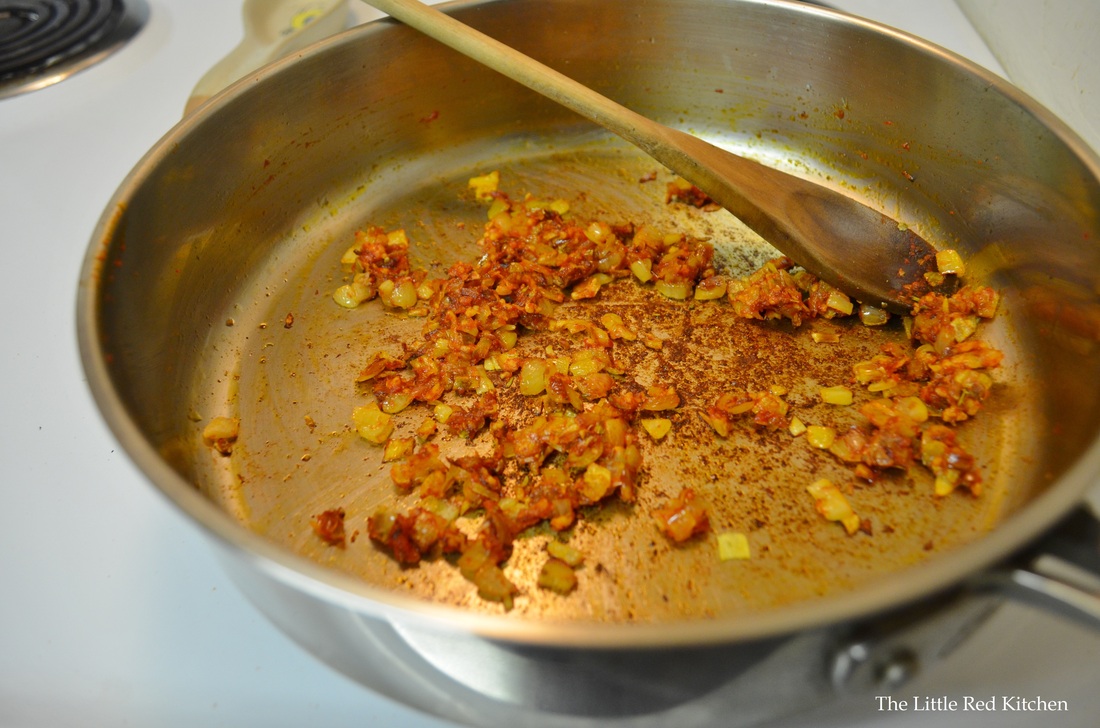
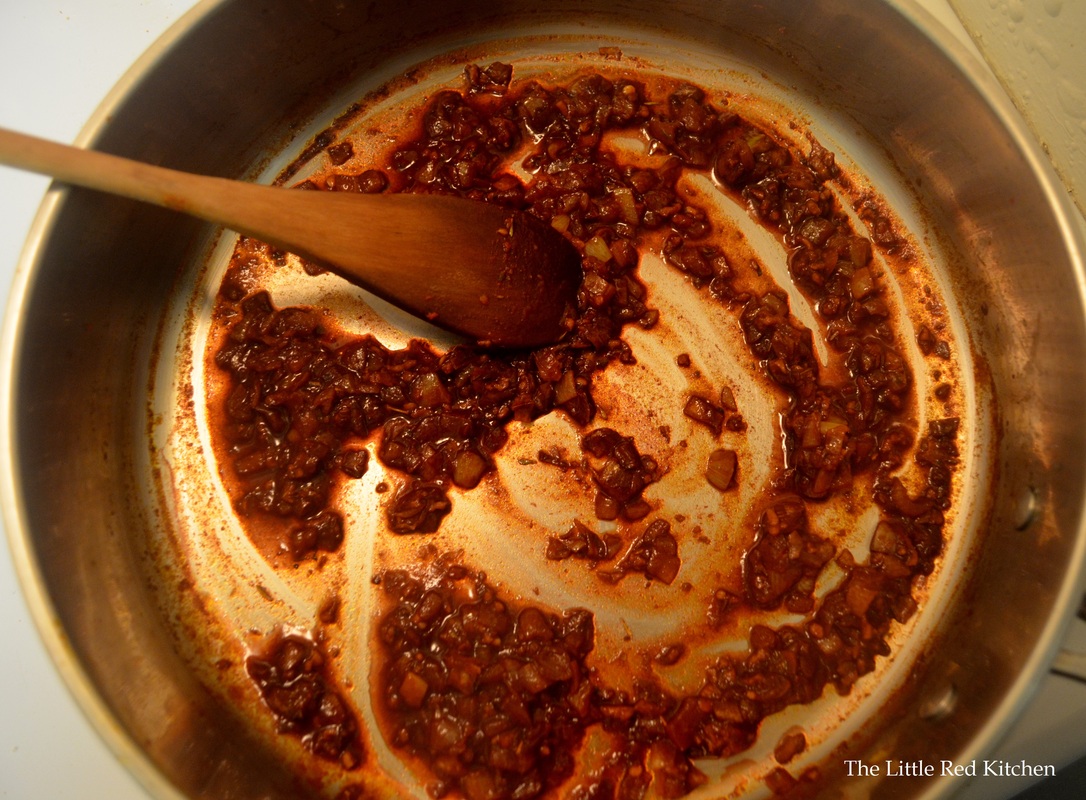
Step 3.1. Toss your onions and garlic into the pan with the beef fat, and saute over medium heat until fragrant and translucent. You can slice your mushrooms while you wait the 3-5 minutes it'll take for this to happen.
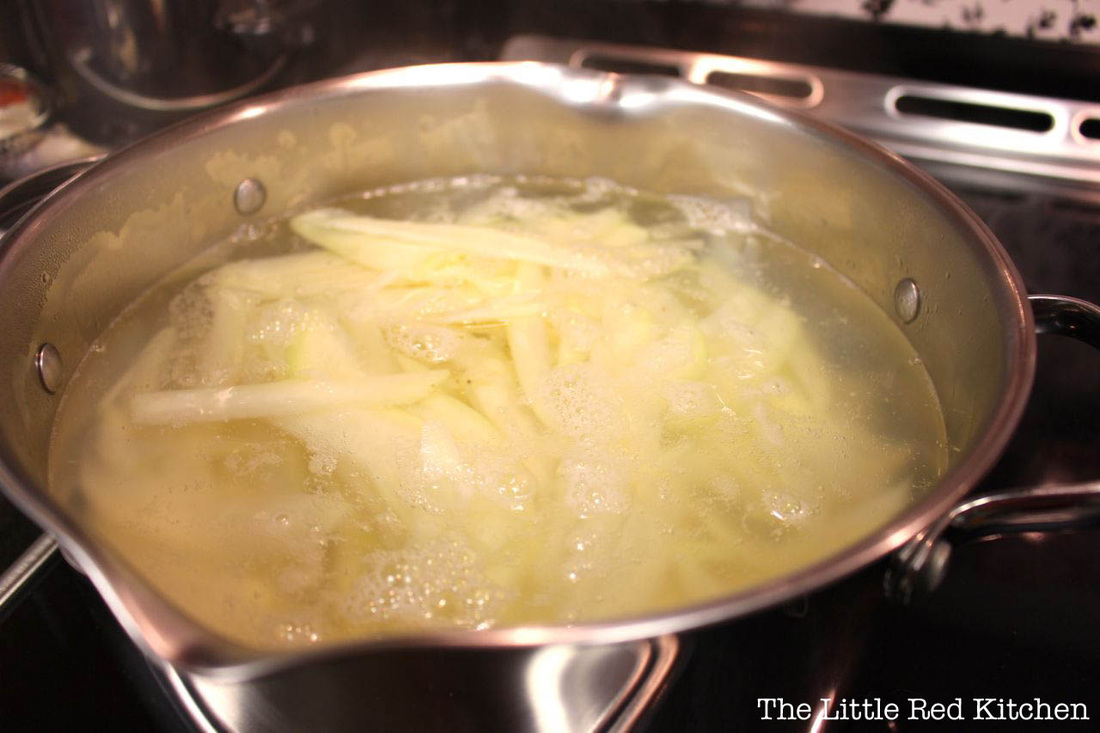
Step 3.2. Once the water has started to boil, add in the potatoes and cook for a maximum of 5 minutes. We want them to be cooked, but a bit al dente, so they hold up under that delicious sauce.
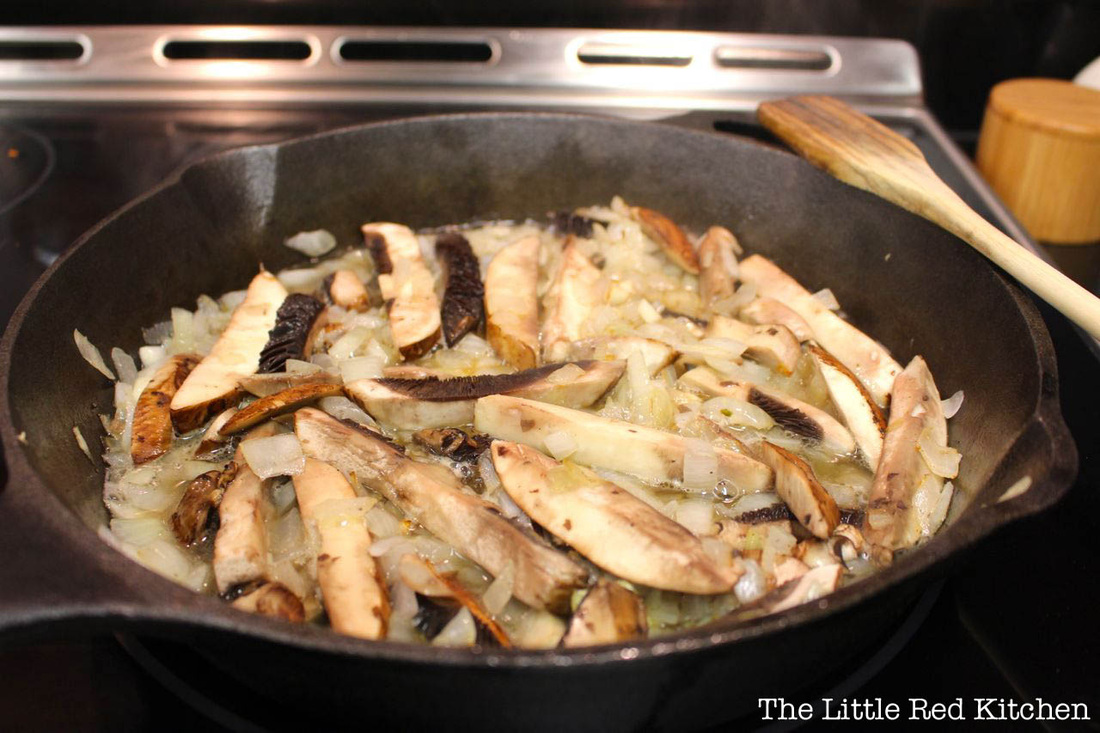
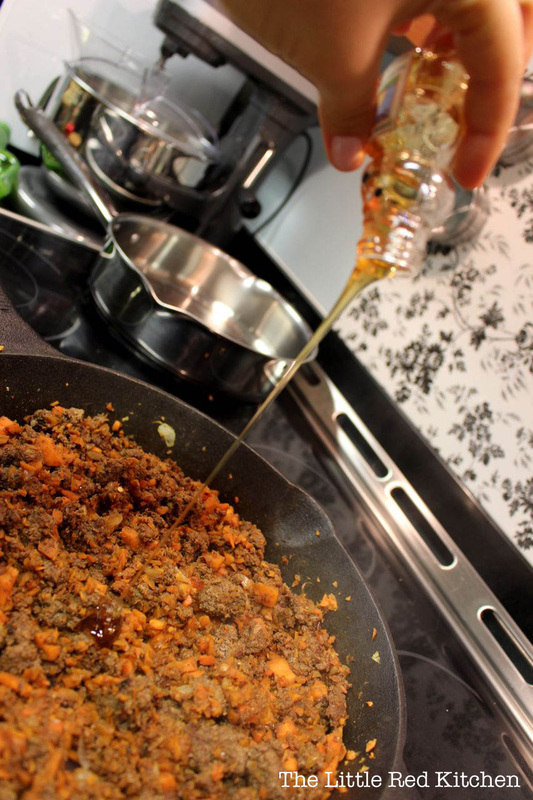
Step 4. Add in the sliced mushrooms, white wine, and chicken stock. Stir well to combine, and use a spatula to scrape any crusted onion/garlic from the bottom of the pan. Allow to simmer for 14-16 minutes, until the mushrooms have cooked through and absorbed most of the liquid from the pan.
Step 5. Drain your potatoes and rinse them under cold water to stop them from cooking further in their own heat. Set aside.

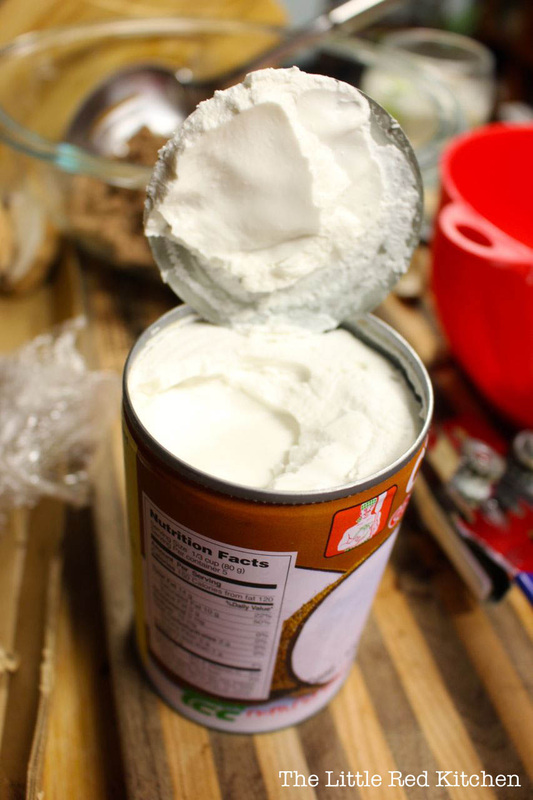
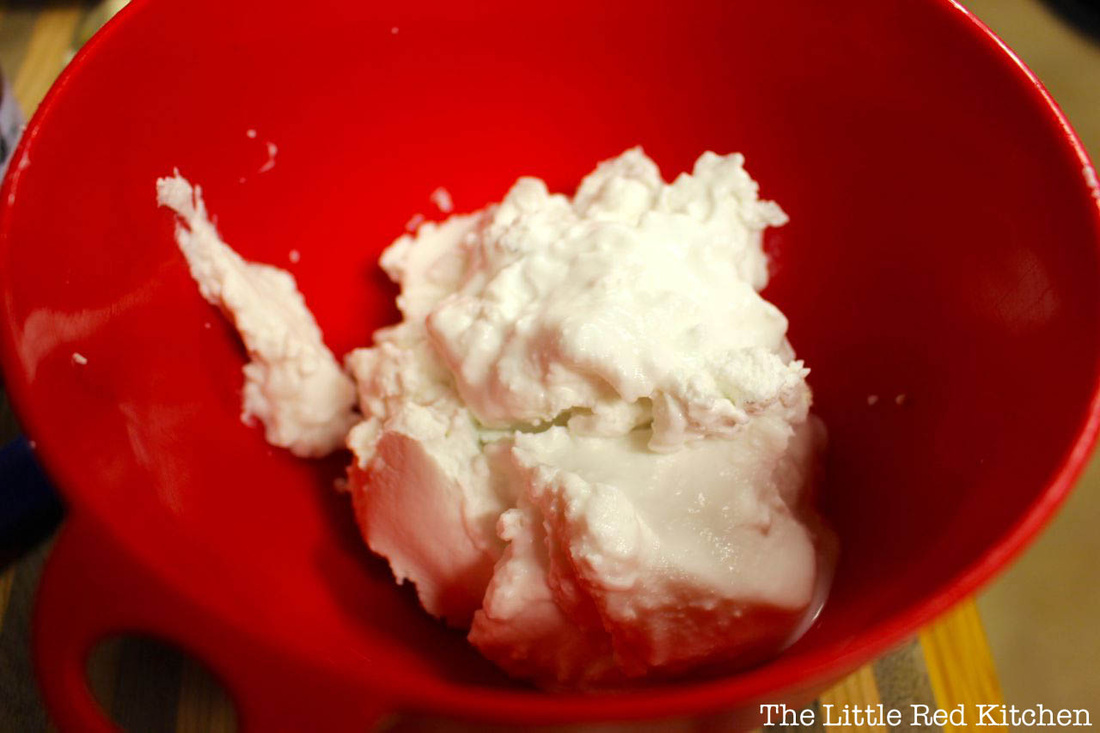
Step 6. Take your chilled coconut milk out of the fridge and open it up. Hopefully, you'll see a thick layer of coconut "cream" on top from the chilling.
Did you know? Coconut milk is FULL of healthy fat, but if you're looking to keep your calorie intake low, this may not be for you.
Did you know? Coconut milk is FULL of healthy fat, but if you're looking to keep your calorie intake low, this may not be for you.
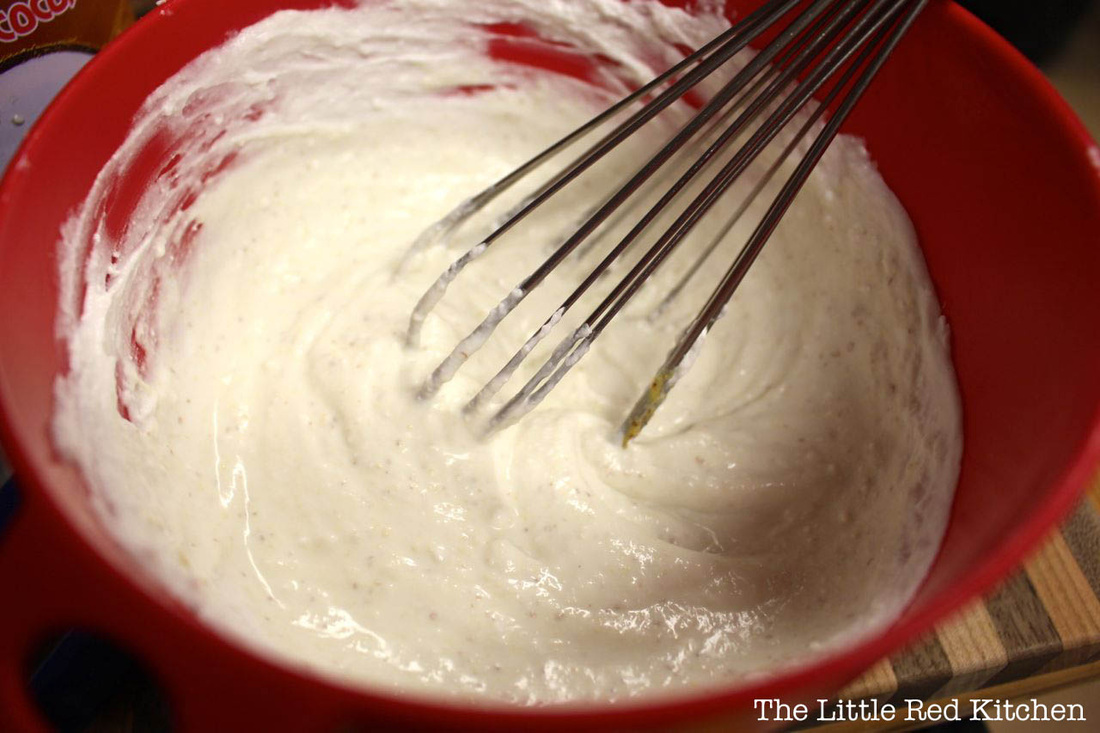
Once you've scooped out the cream, whisk in the dijon mustard:
 |  |
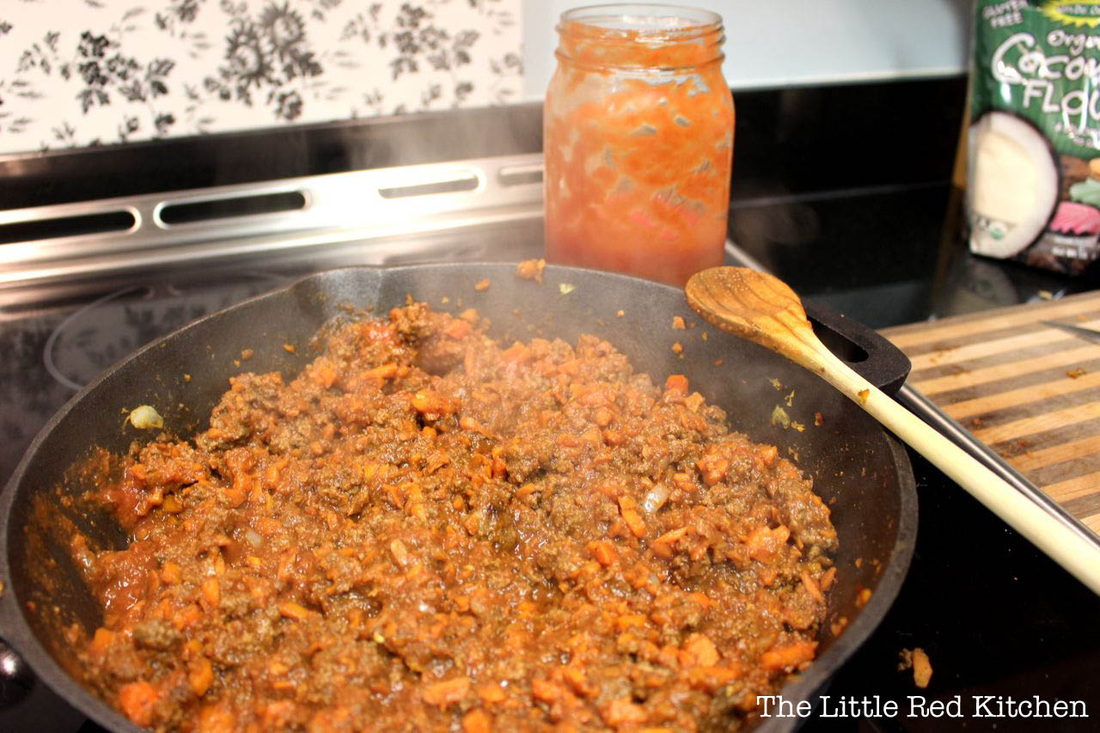
Step 7. Add the coconut milk mixture to the pan of veggies, along with the ground beef and nutmeg.
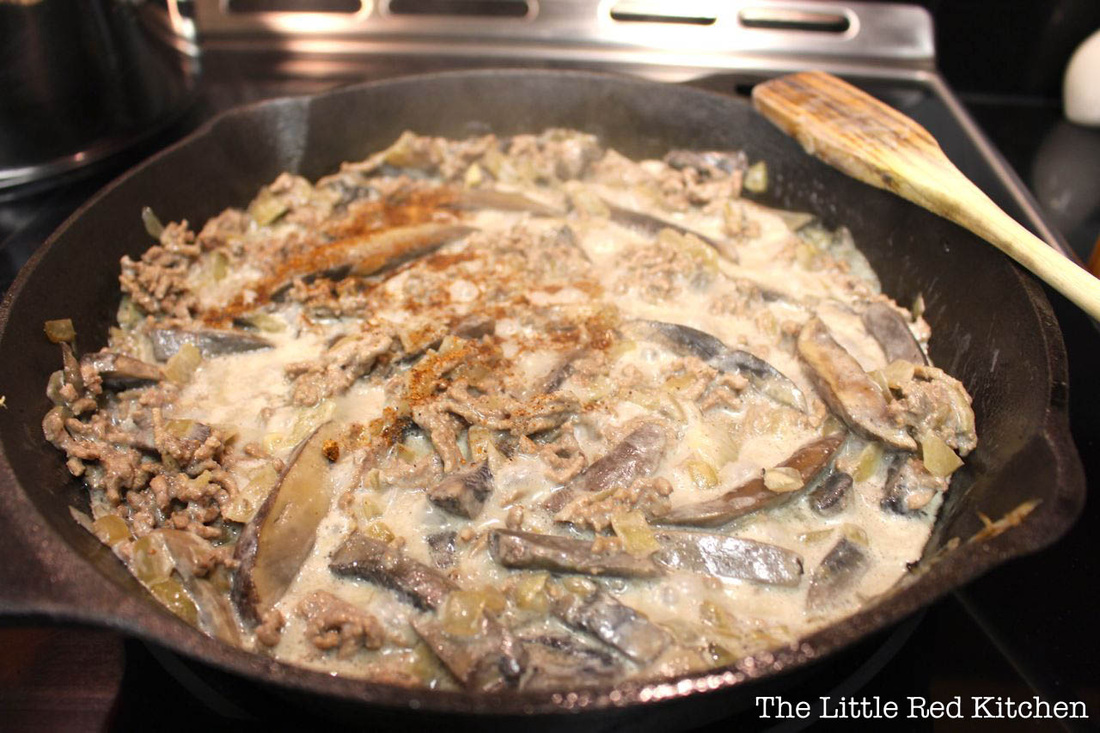
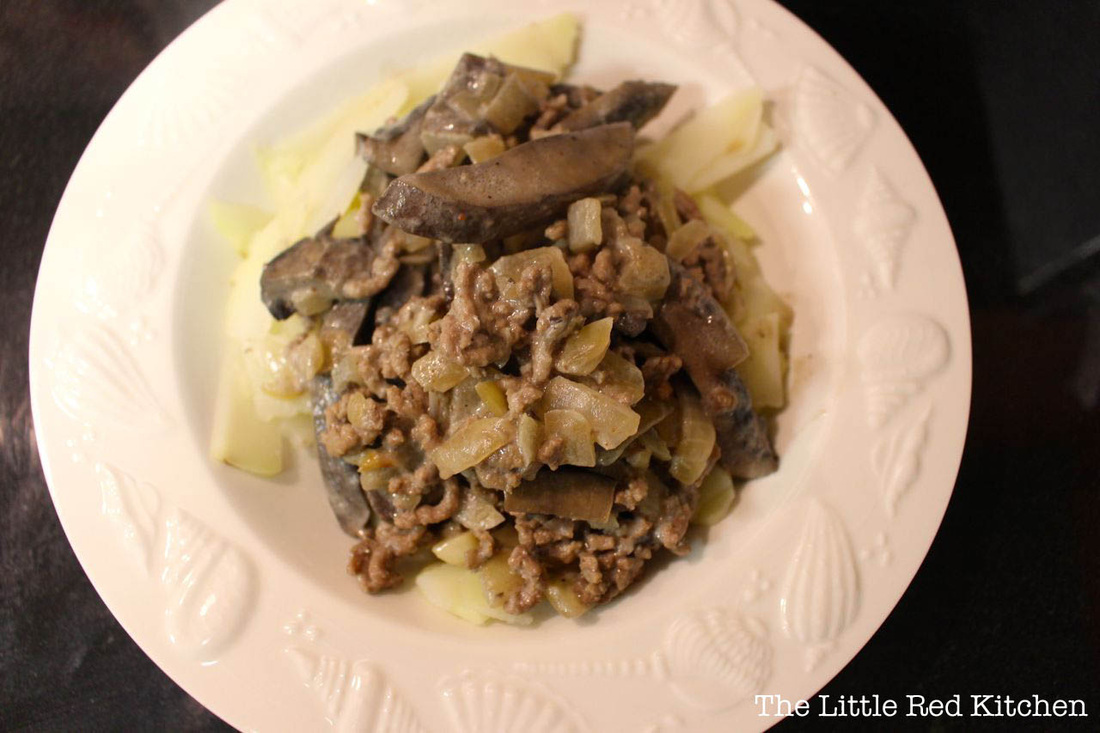
Step 8. Continue to cook for a few minutes to allow the sauce to thicken and heat through. Once it's steaming, you're done! Top some potato "noodles" with your fresh beef stroganoff, and enjoy!
Recipe without photographs: Beef Stroganoff With Potato Noodles
**Bonus: This dish is naturally gluten-free (check your ingredients, of course), and can also be made dairy free!**
Ingredients:
1 lb ground beef (I used 85/15)
1 large yellow onion, finely chopped
2-3 large garlic cloves, finely chopped
4 medium russet potatoes (or your choice of potato)
12 oz large portobello mushrooms, sliced into strips
1 16oz can coconut milk, chilled for at least 8 hours in the fridge (you could also use 1¼ cups heavy whipping cream or crème fraîche, although the consistency of the sauce may change slightly)
1/4 cup white cooking wine
1/2 cup chicken stock
2 tsp dijon mustard
1 tsp ground nutmeg
1. Prep and chop your onions and garlic, scrub and peel the potatoes.
2. Slice the potatoes lengthwise into half-inch wide strips. Slice thinly to create noodles, or use the (2mm) blade attachment in your food processor to do it. Remember to place them horizontally into the food processor for best results!
3. Put a pot of well-salted water on to boil, and brown the meat in a large skillet over medium-high heat.
4. Remove the meat from the pan (leave the fat) and cook the onions and garlic until fragrant and translucent.
5. Add the potato "noodles" to the boiling water, and cook for 5 minutes, maximum. Drain and run under cold water to keep them from cooking further.
6. Add the mushrooms to the pan with the onions and garlic, along with the chicken stock and white wine. Allow to simmer for 14-16 minutes, until the mushrooms are cooked through and have absorbed most of the moisture.
7. Remove the canned coconut milk from the fridge, and scoop out the solidified coconut "cream" from the top of the can. Whisk the dijon mustard into the coconut cream.
8. Add the coconut cream mixture to the pan, along with the ground beef. Allow to heat through for 2-3 minutes.
9. Serve atop potato noodles, and enjoy!!
As always, thanks for reading!
- Kaitlin


 RSS Feed